28 May 2021
Subscribe to Redis Streams
Self-Hosted
- Add app.UseCloudEvents and endpoints.MapSubscribeHandler in Configure method of Startup.cs
public void Configure(IApplicationBuilder app, IWebHostEnvironment env)
{
    ......
    app.UseCloudEvents();
    app.UseEndpoints(endpoints =>
    {
   endpoints.MapControllers();
   endpoints.MapSubscribeHandler();
    });
}
- Create a yaml file in components folder
apiVersion: dapr.io/v1alpha1
kind: Component
metadata:
  name: pubsub
spec:
  type: pubsub.redis
  version: v1
  metadata:
  - name: redisHost
    value: localhost:6379
  - name: redisPassword
    value: ""
- Create a controller for Email
using Dapr;
using Dapr.Client;
......
namespace HTTPSendGrid.Controllers
{
    [ApiController]
    [Route("[controller]")]
    public class EmailController : ControllerBase
    {
   ......

   private readonly DaprClient _daprClient;
   private readonly ILogger<EmailController> _logger;

   public EmailController(ILogger<EmailController> logger, DaprClient daprClient)
   {
       _logger = logger;
       _daprClient = daprClient;
   }

   ......

   [Topic("pubsub", "emailTopic")]
   [HttpPost("PubSubSend")]
   public Task PubSubSendEmail(EmailModel email)
   {
       _logger.LogInformation($"PubSubSend Email {email.Subject} to {email.To}");
       return SendEmail(email);
   }

   ......
    }
}
NOTE: pubsubName comes from the component name of yaml file at #2
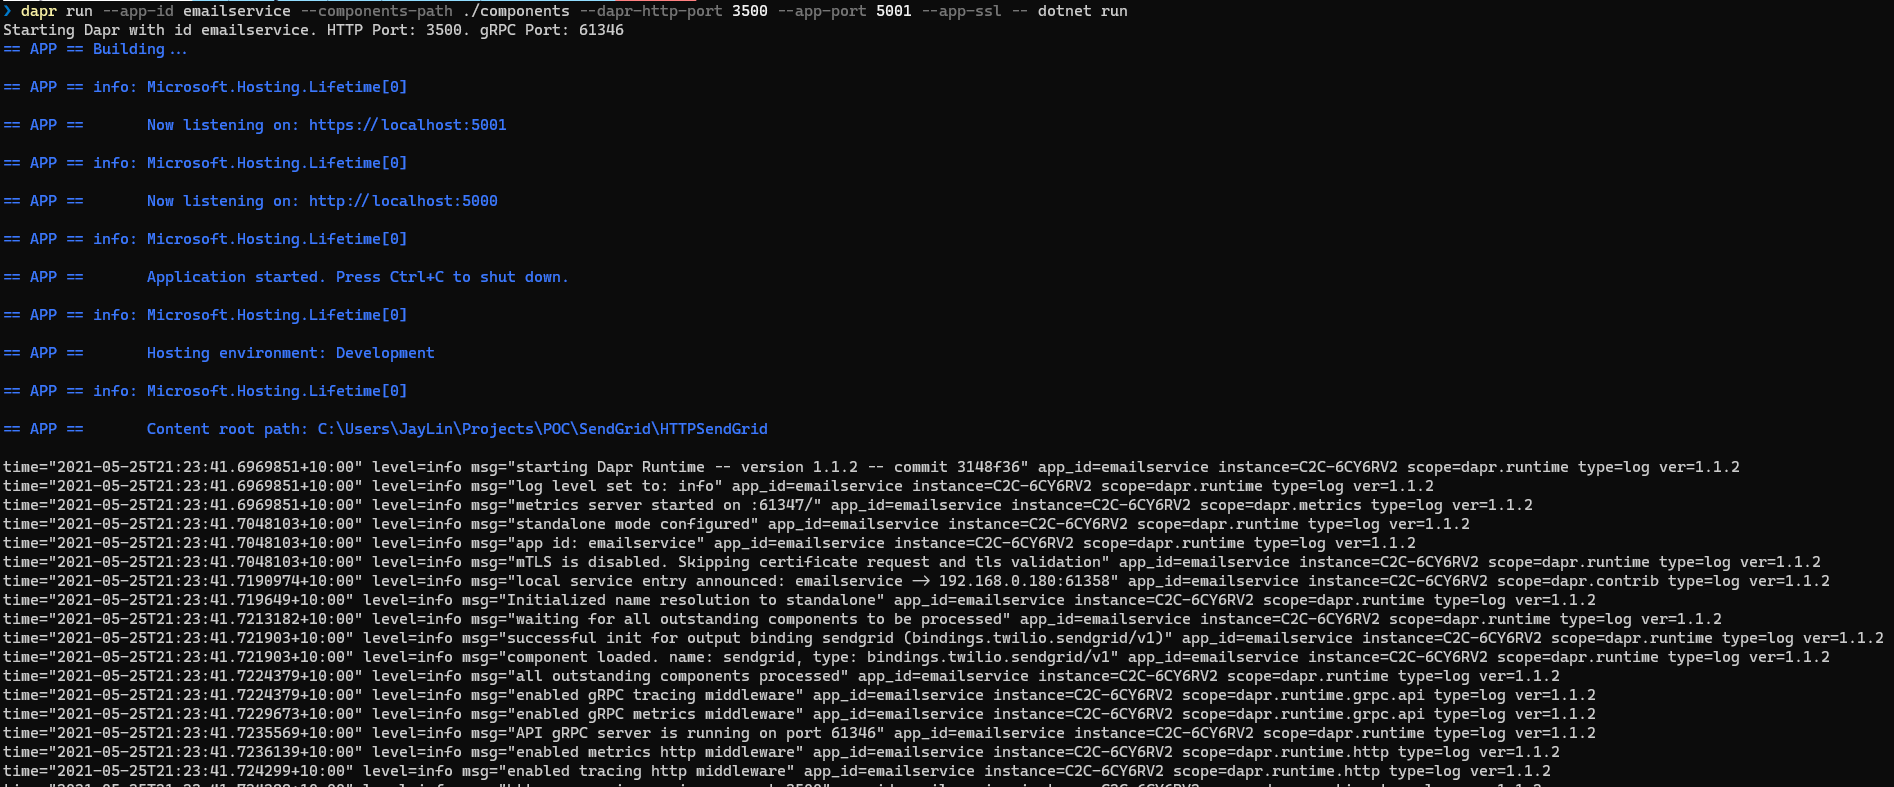
- Run the application
dapr run --app-id emailservice --components-path ./components --dapr-http-port 3500 --app-port 5001 --app-ssl -- dotnet run
- Invoke the service via curl
curl --location --request POST 'http://localhost:3500/v1.0/publish/pubsub/emailTopic' \
--header 'Content-Type: application/json' \
--data-raw '{
    "from": "no-reply@test.com",
    "to": "yourname@test.com",
    "subject": "Hello Dapr SendGrid",
    "body": "<h1>Hello from Dapr PubSub</h1>"
}'
NOTE: Url pattern: /v1.0/publish/[pubsubName]/[topicName]
Kubernetes
- Install Redis in Kubernetes
helm repo add bitnami https://charts.bitnami.com/bitnami
helm install redis bitnami/redis
- Check the Redis containers and get Redis password
Windows:
- Will create a file with your encoded password
kubectl get secret --namespace default redis -o jsonpath="{.data.redis-password}" > encoded.b64
- Will put your redis password in a text file called password.txt
certutil -decode encoded.b64 password.txt
- Create a yaml file for pubsub component in k8s folder
apiVersion: dapr.io/v1alpha1
kind: Component
metadata:
  name: pubsub
spec:
  type: pubsub.redis
  version: v1
  metadata:
  - name: redisHost
    value: redis-master:6379
  - name: redisPassword
    value: "GENERATE_AT_2"
- Deploy pubsub component to Kubernetes
- Create a Dockerfile
FROM mcr.microsoft.com/dotnet/aspnet:5.0 AS base
WORKDIR /app
EXPOSE 80
EXPOSE 443
FROM mcr.microsoft.com/dotnet/sdk:5.0 AS build
WORKDIR /src
COPY ["HTTPSendGrid.csproj", "."]
RUN dotnet restore "./HTTPSendGrid.csproj"
COPY . .
WORKDIR "/src/."
RUN dotnet build "HTTPSendGrid.csproj" -c Release -o /app/build
FROM build AS publish
RUN dotnet publish "HTTPSendGrid.csproj" -c Release -o /app/publish
FROM base AS final
WORKDIR /app
COPY --from=publish /app/publish .
ENTRYPOINT ["dotnet", "HTTPSendGrid.dll"]
- Docker build
docker build -t httpsendgrid:latest .
- Create a yaml file and deploy container to Kubernetes
kind: Deployment
apiVersion: apps/v1
metadata:
  name: sendgrid-app
  namespace: default
  labels:
    app: sendgrid-app
spec:
  ......
  template:
    metadata:
 labels:
   app: sendgrid-app
 annotations:
   dapr.io/enabled: "true"
   dapr.io/app-id: "emailservice"
   dapr.io/app-port: "80"
   dapr.io/log-level: "debug"
......
- Invoke the Kubernetes NodePort via curl
  curl --location --request POST 'http://localhost:30040/v1.0/publish/pubsub/emailTopic' \
--header 'Content-Type: application/json' \
--data-raw '{
    "from": "no-reply@test.com",
    "to": "yourname@test.com",
    "subject": "Hello Dapr SendGrid K8S",
    "body": "<h1>Hello from Dapr PubSub</h1>"
}'
25 May 2021
Send email via SendGrid
- Create a new .NET Core WebAPI project
dotnet new webapi -n HTTPSendGrid
- Install Dapr nuget package
dotnet add package Dapr.AspNetCore
- Append AddDapr() in ConfigureServices method of Startup.cs
public void ConfigureServices(IServiceCollection services)
{
    services.AddControllers().AddDapr();
    services.AddSwaggerGen(c =>
    {
   c.SwaggerDoc("v1", new OpenApiInfo { Title = "HTTPSendGrid", Version = "v1" });
    });
}
- Create a yaml file in components folder
apiVersion: dapr.io/v1alpha1
kind: Component
metadata:
  name: sendgrid
  namespace: default
spec:
  type: bindings.twilio.sendgrid
  version: v1
  metadata:
  - name: apiKey
    value: YOUR_SENDGRID_KEY
NOTE: Dapr is initialized to %USERPROFILE%\.dapr\ on Windows
- Create a controller for Email
using Dapr;
using Dapr.Client;
......
namespace HTTPSendGrid.Controllers
{
    [ApiController]
    [Route("[controller]")]
    public class EmailController : ControllerBase
    {
   // The same as component name in yaml file at #4
   private const string SendMailBinding = "sendgrid";
   private const string CreateBindingOperation = "create";

   private readonly DaprClient _daprClient;
   private readonly ILogger<EmailController> _logger;

   public EmailController(ILogger<EmailController> logger, DaprClient daprClient)
   {
       _logger = logger;
       _daprClient = daprClient;
   }

   [HttpPost("HttpSend")]
   public Task HttpSendEmail([FromBody] EmailModel email)
   {
       _logger.LogInformation($"HttpSend Email {email.Subject} to {email.To}");
       return SendEmail(email);
   }

   private Task SendEmail(EmailModel email)
   {
       var emailDic = new Dictionary<string, string>
       {
           ["emailFrom"] = email.From,
           ["emailTo"] = email.To,
           ["subject"] = email.Subject
       };
       if (!string.IsNullOrEmpty(email.CC))
       {
           emailDic["emailCc"] = email.CC;
       }
       if (!string.IsNullOrEmpty(email.BCC))
       {
           emailDic["emailBcc"] = email.BCC;
       }
       return _daprClient.InvokeBindingAsync(
           SendMailBinding,
           CreateBindingOperation,
           email.Body,
           emailDic
       );
   }
    }
}
- Run the application
dapr run --app-id emailservice --components-path ./components --dapr-http-port 3500 --app-port 5001 --app-ssl -- dotnet run
- Invoke the service via curl
curl --location --request POST 'http://localhost:3500/v1.0/invoke/emailservice/method/email/httpsend' \
--header 'Content-Type: application/json' \
--data-raw '{
    "from": "no-reply@test.com",
    "to": "yourname@test.com",
    "subject": "Hello Dapr SendGrid",
    "body": "<h1>Hello from HTTP Request</h1>"
}'
NOTE: Url pattern: /v1.0/invoke/[–app-id]/method/[controller]/[method route]
[–app-id] comes from the #6 dapr run parameter
20 Mar 2021
Time flies quickly, I have gotten my SA certificate for nearly 1.5 years. I received an email from Microsoft that I am eligible to extend my certificate for another year at no cost to the end of next July. That’s a perfect news that I don’t have to upgrade my certificate by taking the latest exams (AZ 303 and 304).
To help me pass the online test, Microsoft grouped all the relevant courses in Microsoft Learn to fill the knowledge gap that introduced in the recent 2 years. Instead of attending a “formal” exam, the renew test is in easy mode - without being monitored, without time counting down and you can retest multiple times. As long as you can correctly answer more than 65% of questions, Microsoft will give you another year to the current expiry date.
I thought my knowledge should be broad enough to cover most of the new Azure features, but I was wrong. I got 61% at my first attempt, in “Protect your virtual machine by using Azure Backup” section, I failed to answer any of those questions. In this test, there is no way to reverse back to review your answer, which I found is as challenging as “Yes / No” section in the formal exam.
Fortunately, I managed to pass this test at my 2nd attempt.
06 Jan 2021
Why Jekyll?
My blog was on WordPress hosted by Godaddy. Using WordPress is simple for non-technical people, they don’t have to understand HTML and CSS.
Jekyll is the engine behind GitHub, which you can use to host sites right from your GitHub repositories. As a file-based CMS, it can render Markdown and Liquid templates. And it’s free.
As an IT guy, similar to “infrastructure as code”, I can handle “post as code” and merge my posts into GitHub branch.
Before Migration
Fix issue in Big Sur (MacOS)
After upgrading my Mac to the latest OS, Jekyll stopped working and threw this error:
Could not find eventmachine-1.2.7 in any of the sources. Run `bundle install` to install missing gems.
Then Google gave me the following solution:
Data Migration
According to https://import.jekyllrb.com/docs/wordpress/, I need to install jekyll-import to import my posts from WordPress.
-
Install all the required plugins
-
Install sequel
-
Install unidecode
sudo gem install unidecode
-
Install jekyll-import
sudo gem install jekyll-import
-
Run jekyll-import
 ruby -r rubygems -e 'require "jekyll-import";
   JekyllImport::Importers::WordPress.run({
     "dbname"         => "[mysql_db]",
     "user"           => "[mysql_user]",
     "password"       => "[mysql_pwd]",
     "host"           => "[mysql_host]",
     "port"           => "3309",
     "socket"         => "",
     "table_prefix"   => "wp_[my_table_prefix]",
     "site_prefix"    => "",
     "clean_entities" => true,
     "comments"       => true,
     "categories"     => true,
     "tags"           => true,
     "more_excerpt"   => true,
     "more_anchor"    => true,
     "extension"      => "html",
     "status"         => ["publish"]
   })'
Follow Open phpMyAdmin to get those info:
- [mysql_db] - the same as mysql_user for my instance
- [mysql_user]
- [mysql_pwd]
- [mysql_host]
- [my_table_prefix] - an extra prefix after wp_
I encountered an error when I ran the above command.
LoadError: cannot load such file -- mysql2
As I didn’t have MySql installed on my local environment.
sudo gem install mysql2 --platform=ruby
-
Convert html to md
Once import job complete, all of my previous posts were downloaded as html files, I converted them to MarkDown format and then manually fixed the image references.
-
Google Tag Manager
“jekyll-google-tag-manager” is not supported by GitHub as it’s not in Dependency Version. Therefore, I have to include GTM html into head and body.
-
Other useful plugins
- Sitemap - jekyll-sitemap
-
301 Redirect - jekyll-redirect-from
In the post md file, I just need to include redirect_from in yaml header e.g.
  ---
  layout: post
  title: 'AZ-400: Designing and Implementing Microsoft DevOps Solutions'
  redirect_from:
    - /az-400/
  ---
  ...MY POST CONTENT...
20 Nov 2020
Why Security is important?
Cyber Security is one of the hottest topic all over the world. As an IT expert, how can we deliver a secure solution to:
- Prevent data breach
- Protect personal information
- Identify malware
Free Certification from Microsoft Ignite 2020
After finishing Microsoft Ignite Cloud Skills Challenge 2020 I got a free chance to participate AZ500 exam. Because I passed the Solutions Architect exam, which covers some security bits e.g. Azure AD (P1 and P2), RBAC and Security Center, I put more efforts on Sentinel which is relatively new to me. When I kicked off my test, I realized it’s much harder than I expected. For instance, I didn’t have experience on security hardening container images in ACR.
Useful resources to prepare the exam


